Hello there, lovely painters. If you’re new around here, let’s get acquainted really quickly…
I am Kari Lynn M., a fellow artist just like you! And I happen to be an artist who loves connecting with other artists, chatting art, and sharing art tips and such… so, hey, let’s just be friends already, right?
Alright, alright, I know… you’re probably thinking, “well, I did come here to learn how pets are painted, so can we get to it now, please?” And I hear you, I do.
So, I want to share with you this in-depth painting “breakdown” video that I made a few days ago, and it’s all about, as you guessed, how to paint a pet portrait!
And, maybe, after watching the video, you can scroll down further and have more of a chat with me.
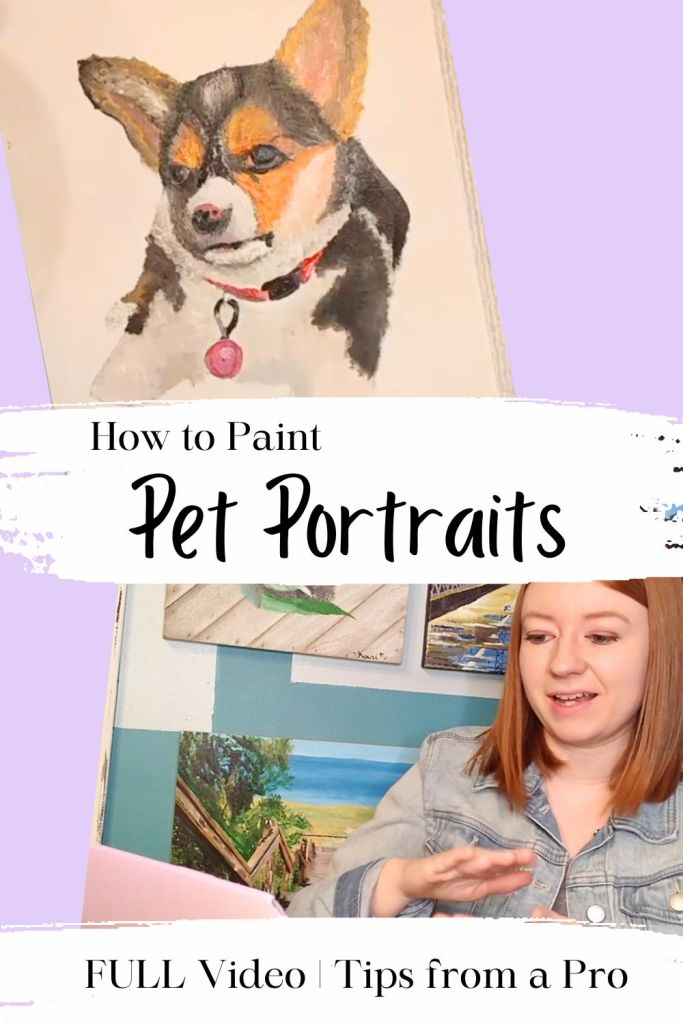
Full Video: How a Corgi’s Portrait Is Painted
More Tips on Painting Pet Portraits
Like I shared in the video, pet portraits can be pretty tricky, especially if you are a beginner painter. However, when you break things down into very, very simple steps… everything suddenly feels manageable.
Like when we…
Focus on Fur Colors
As said in the full video, animals come in, literally, thousands of shades of fur colors. It’s insane, really, how many more fur colors there are in animals. There are even more fur colors than there are hair colors in humans.
However, when you start mixing your colors for use in your painting, really hone in on the reference picture you are using, and pay attention to all of the colors you see in your animal’s fur. Remember the properties of color theory, and use combinations of all of your primary colors to get the secondary and tertiary colors you see in that very reference photo.
Fur is very often a “dull” color, so I usually have to darken it down with something, and I prefer using darkeners like burnt umber and raw umber. However, you can actually use anything to make your colors darker, whether you use something like black paint or a specific color’s complement.
And, if all of this sounds like gibberish to you (I know, it sounds like foreign language even to me, too, if I get talking/typing it too fast!), then don’t worry–because I actually go further in depth on all the painting basics on my new Canvas Academy painting platform–check it out!
Canvas Academy is your guide to becoming the best painter you can be. Take online classes, learn from over 100 hours of videos, and even download workbooks and guides—all designed to help you along on your personal painting journey.
Focus on Eyes, Nose, Mouth… and then Face
Just like when I paint people’s portraits, I like to focus first on the eyes in a pet’s picture because it’s the center of interest. From there, I paint in the nose and mouth before I start filling in all the fur on the face. This gets all of those facial features out of the way, honestly, before I forget about them.
When I paint the face, then, I try really hard not to cover up those facial features. It can be easy to smear the thin line of the mouth, so just take your time and don’t rush things.
Focus on the Textures Last
Once I have a full portrait filled in with color, I go back over everything with some fun brush textures. This means I’ll do things like dabbing in the fur and, of course, adding whiskers!
These are kind of like the “final touches,” which is why I save them for last. Textures need to be built-up, too, so it helps to do a couple layers of them in different colors. For example, I may add some dark brown dots over an area of tan fur, let it dry, and then go back and add another layer of white dots over it. This adds more depth in our portraits, too!
And then… ta-da! Your pet portrait will look gorgeous. Or, at least, I hope it will!
Keep in touch, fellow artists, with me here and on Canvas Academy for more painting tips and future inspiration.
–Kari