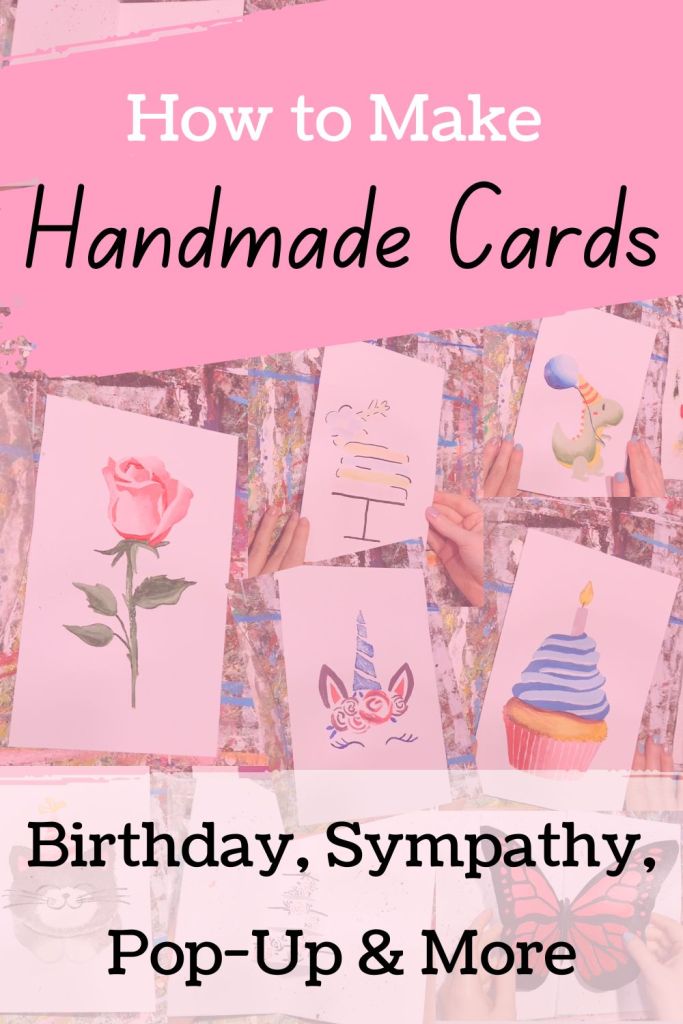
Welcome, fellow painters (and brand new painters!). It’s time to learn not just how to paint—but how to hand-paint greeting cards.
Just like some of these!

Why Make Your Own Cards
Okay, sure, you could always stop by the dollar store and pick up a handful of cheap greeting cards for birthdays, anniversaries, etc… but, honestly, how personal can that be? Wouldn’t you so much rather show your family and friends that you care about them by gifting them personalized, hand-made cards?
And, yes, there is absolutely nothing wrong with buying cards from the store to send in the mail or give to your loved ones in person… but, really, making your own cards really says something.
In fact, by choosing to make your own greeting cards, you can…
- Personalize your cards with names, messages, and more
- Practice your painting and crafting skills
- Customize and choose the images on the front of your cards
- Save money by skipping on those “luxury card” prices
- Make your cards pop (literally–with pop-up features!)
Plus, like we’ve already discussed… there’s something special about getting a beautifully handmade item from someone you care about. It shows that you care enough to put in the time and effort it takes to make something just for them. And that’s something to share with others!
How to Make Your Own Cards
You don’t have to be a crafty person to make your own painted cards. Actually, making a card is as simple as folding a piece of paper–literally. After that, the personalization comes in with painting the card and adding your own message, which is just as easy.
Materials You’ll Need
Before you start making your own cards, you’ll want to be sure that you’ve got all the right materials on-hand. You might be surprised how many items you probably have already, even if you don’t do a lot of other craft projects.
These materials include:
- Thick or sturdy paper, such as cardstock or construction paper
- Acrylic or craft paints in colors like…
- Blue
- Red
- Yellow
- White
- Black, gray, or raw umber
- Brown or burnt umber
- A small to medium round-headed brush
- Something to mix paints on (like a palette or paper plate)
- Something to mix paints with (like a paint spatula or popsicle sticks)
You can also use a printer to print the messages on the insides of your cards, if you’d like. Or, if you don’t have a printer available, hand-writing your messages works just as well!
Assembling Your Cards
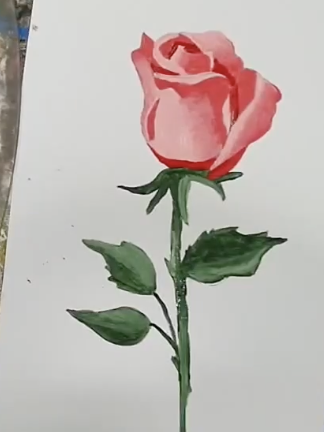
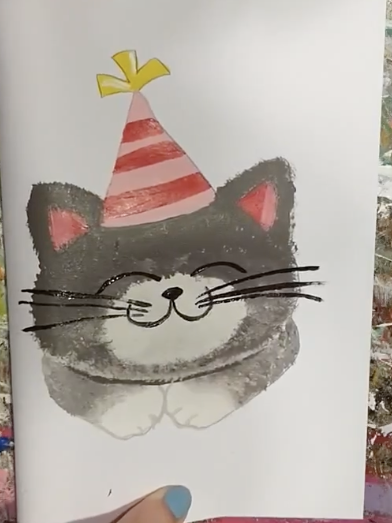
Now, actually creating and decorating your cards is the fun part! You have a couple of ways to go about making your cards, too, whether you’re wanting to make birthday cards, sympathy cards, or even get well cards.
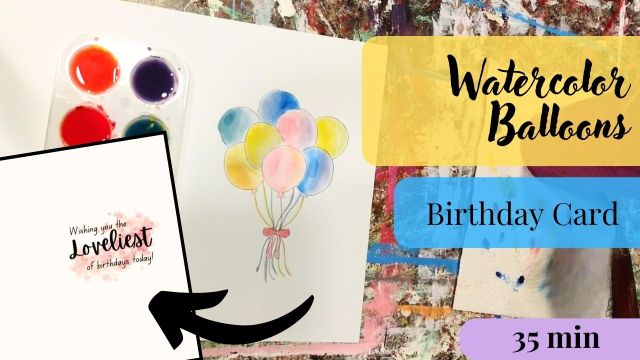
If you’d like, you can always freely paint the front of your cards and write your own message inside. However, for more guidance in your card-making, I recommend following along with an instruction video, like this one below, which not only teaches you how to make a simple card design, but it also teaches you how to make your own watercolor paints.
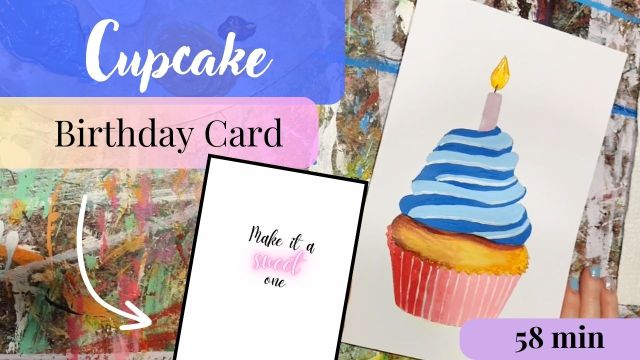
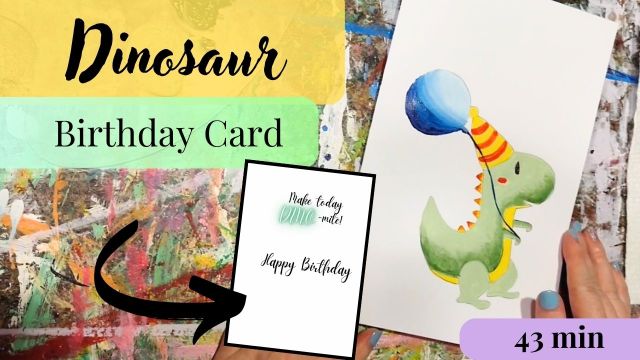
Of course, there are tons of other card-making classes out there online, too. Check out some of these below, which will teach you how to make even more premium card designs (plus, each of these tutorials come with printable messages that you can place inside your cards!).


Now, to access any of these premium card-making classes, you’ll only need a subscription with Canvas Academy, your online guide for learning how to paint from the beginner to advancing level.
Canvas Academy offers 100+ hours of painting classes with downloadable workbooks, painting files, and so much more. With a Canvas Academy premium subscription, you can learn how to make tons of greeting cards as well as simple to professional paintings, like landscapes and portraits.
As a premium member of Canvas Academy, you’ll get all of our in-depth painting classes for one extremely low monthly rate, plus you’ll be able to take new classes as they release each every month!
Sending Your Cards
Once you’ve got your handmade cards created, you can always send them or just gift them to your recipients. If you’d like to send them in the mail or post, be sure to have some envelopes on-hand.
Typically, envelopes in the A2 size work best for these types of cards since they are one of the largest standard sizes. Plus, if you use regular 8 x 11-inch paper to make your cards, you shouldn’t have to trim your cards at all after folding them to get them stuffed into the envelopes.
Then, of course, comes the, perhaps, second-most fun part… giving your card to its recipient!
So, enjoy making your own hand-painted cards, fellow artists, and don’t be afraid to get creative with them. However you decide to paint and design them, just take your time and have fun.
Happy painting!
–Kari