Welcome, fellow painter… Ready to learn how to make beautiful, realistic-looking fruits with just a couple paintbrush strokes?
Because, really, painting fruits is a key skill for all artists to learn. And it’s actually a lot easier that it looks—all it takes is some attention to detail, plus a bit of practice. And, no, “talent” really doesn’t have anything to do with it—anyone can learn how to make still-life paintings!
Now, of course, still-life paintings can feature a variety of different objects or subjects; they don’t have to focus on fruits. But, for today, let’s keep it simple and learn all the best tips for making fruits on the canvas since, often, fruits are the basis objects of still-life images.
Plus, all of the following tips will work with both acrylic and watercolor paints—so, keep that in mind as you practice them.
The Key to Good Fruits: Utilizing “Values”
Now, if you’re new to the world of art… well, first, welcome, but, second, you should explore the elements of art as soon as possible! Even if you’re already familiar with the elements, it’s never a bad idea to review them.
Specifically, it’s a good idea to get familiar with the idea of values when it comes to painting. And, in a nutshell, values are the perceived “light” and “dark” areas of any piece of art, and we tend to call them “highlights” and “lowlights”.
Now, with a still-life image, typically, light will hit the objects in the image from a certain angle, and these areas where the light hits create highlights. The areas where the light casts a shadow either on or below the objects, then, are our shadows. Together, these light and dark areas combine to make, again, values.
One of the top tips for making realistic fruit paintings, then, is to recreate the values, or all the highlights and lowlights, of the fruits as they appear when “standing still” in real life.
Check out the following articles to find out more on how to make highlights and lowlights with your paints.
Remember, those highlights and lowlights occur in the natural world, so, to make natural-looking paintings, you should pay attention to them as best you can. And, to help you do that, you should observe or reference real fruits in real life!
Recreating Realism with Real References
Yeah, try saying that five times fast.
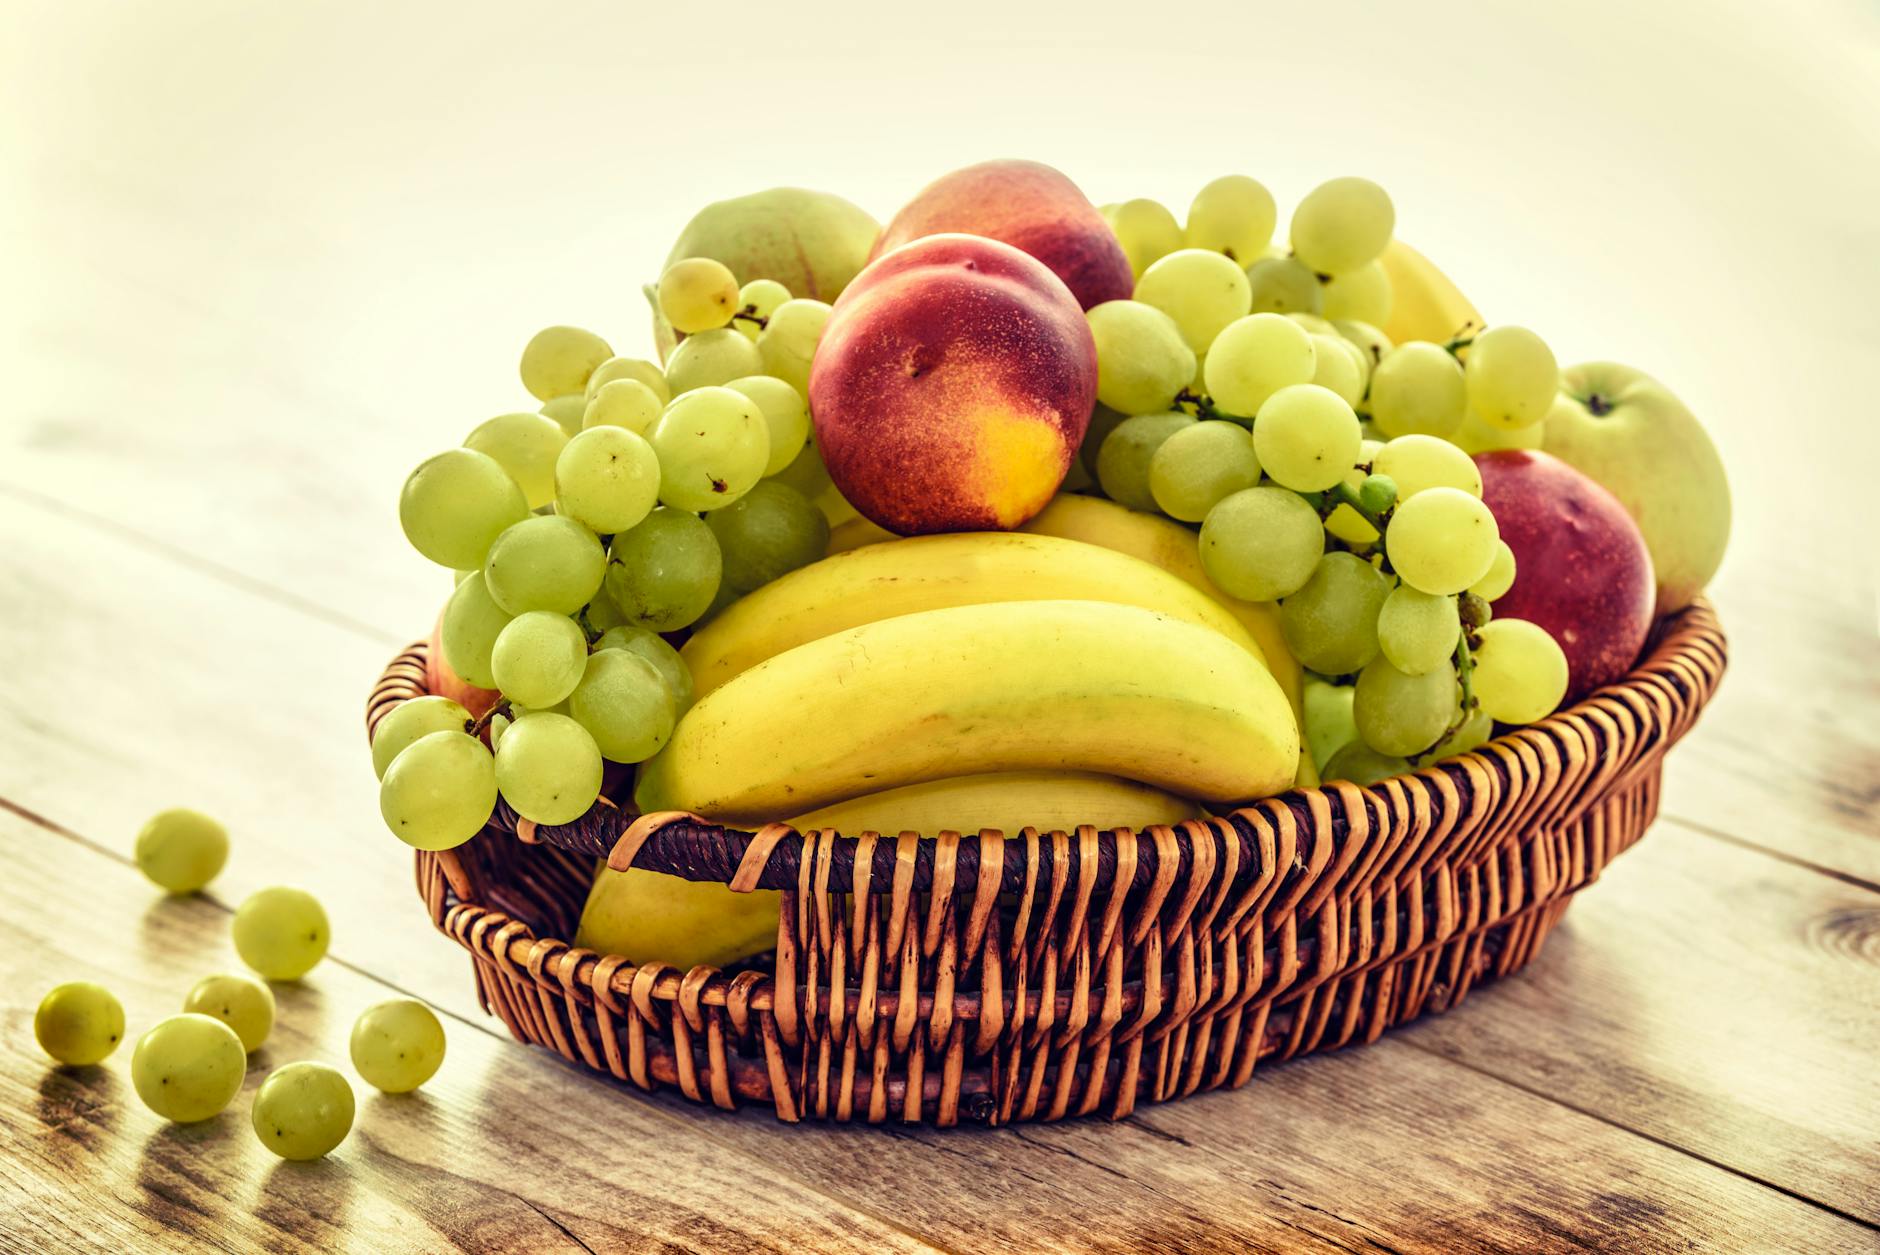
Really, though, making realistic paintings almost always starts with either using a reference photo or a real-life subject. For example, you can paint a basket of fruit more realistically if you look at a real basket of fruit—either on a table in front of yourself as you’re painting or in a photograph.
Only with a reference photo or real-life display can you see exactly where the natural light hits the objects (A.K.A. the fruits) in real life. From there, you can glance at your reference image/display from time to time when you want to figure out where to place your highlights and lowlights.
Using a reference image or display also makes it easy for you to figure out what colors to make the fruits in your still-life painting. Because, sure, you may know that a pumpkin is orange… but, do you know what variation of orange? Because only your reference image/display will show you the exact tone of orange you should use to make that pumpkin the most realistic it can be.

And, hint, if you need help figuring out how to mix all of the different colors on the color wheel, check out this color theory workshop class, available only through Canvas Academy!

Practice, Practice, Practice… and then Practice
Honestly, the best way to improve at anything is to just simply practice—and painting fruits is no different.
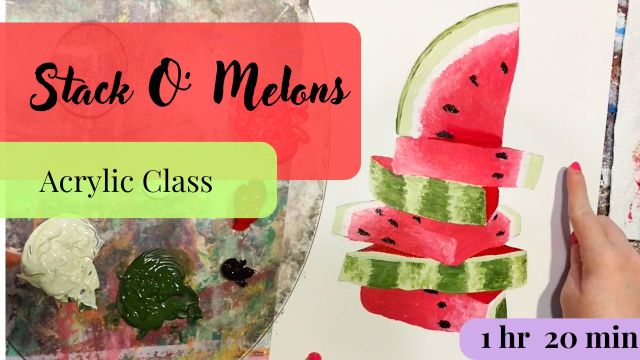
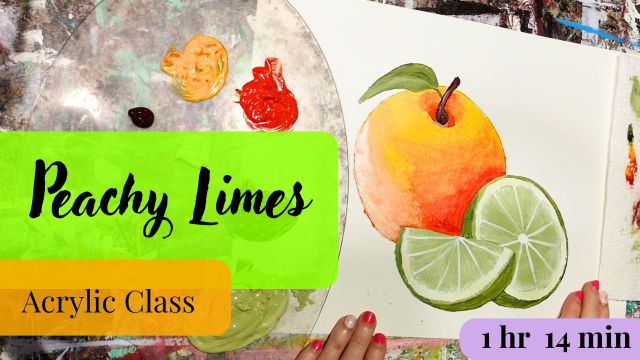
So, you can get started with practicing your still-life fruits either on your own, or you can join an online painting class to get more tips as you go along. In fact, below are a couple of free painting classes focused on watercolor and acrylic paint fruits!


Plus, if you’re interested in taking your painting techniques even further, you may enjoy taking the full “Fruits & More” Painting Course by Canvas Academy. This unique, in-depth artistry course will show you exactly how to make realistic acrylic and watercolor fruits, all with just a couple tubes of paint and a single brush.
Check out the “Fruits & More” Classes:


Now, hopefully, you’re ready to start painting the most gorgeous fruits ever, right?
So, take these tips into account the next time you sit down for a painting sessions, especially when you make still-life pictures, and get ready to practice, practice, practice to improve yourself as an artist.
–Kari

