Hey there, fellow quilter!
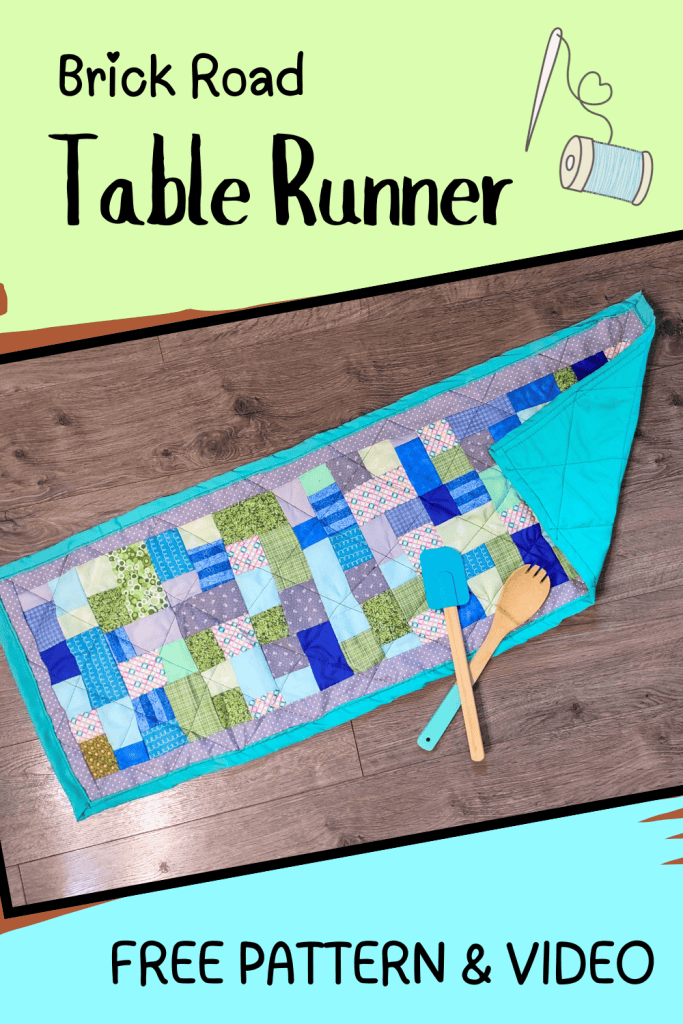
Today, I’d like to share my latest sewing project idea with you, which is, of course, a “brick road” table topper. Check it out–and be sure to scroll down for the full video tutorial and free printable pattern!
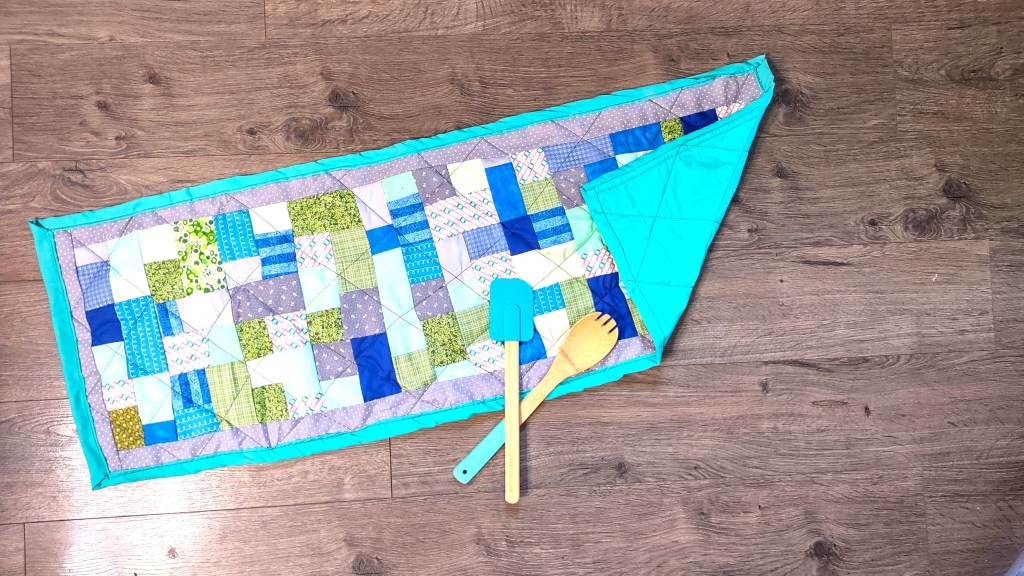
This pattern can be used not only to make the table runner seen in my example above but also anything, basically, from throw pillows to placemats and even full-sized quilts. Just use the given pattern below and either “multiply” or “divide” the pattern to make it larger or smaller. From there, you can use your own size of pattern to incorporate into your own projects.
The full table topper, though, makes for a great gift, especially for those who like the “patchwork” look. And, of course, it could always be a gift for yourself… just saying!
Also be sure to check out my previous tutorial on DIY patchwork couch cushions here.
Video Tutorial: How to Sew the “Brick Road” Pattern
See the full video tutorial above or over on YouTube, and be sure to download the pattern printable below.
While this pattern is designed to use up your scrap fabric stash, there are some measurements you can keep in mind if you want to finish up the entire table topper. For example, you’ll want to have enough fabric to cover two border strips measuring at least 2 inches by 38 inches, two border strips measuring at least 2 by 15.5 inches, a back fabric measuring at least 17.5 by 42 inches, and two more backing pieces measuring 2.5 by 17 inches. Additionally, you’ll want to have quilt batting for your project, at least 15.5 by 42 inches.
So, if you prefer seeing things in list format (as do I!), you will need:
- (2) Border fabric pieces measuring 2 x 28 inches
- (2) Border fabric pieces measuring 2 x 15.5 inches
- (1) Backing fabric piece measuring 17.5 x 42 inches
- (2) Backing fabric piece measuring 2.5 x 17 inches
- (1) Quilt batting piece measuring 15.5 x 42 inches
This project is a great one to use with fat quarters and charm packs, too. And, if you’re curious about time estimates, I can tell you that I timed myself, and it only took me 4 hours to get the table topper project done, start to finish.
I also show you a bit of a shortcut hack for creating the binding on the table runner in the tutorial above, helping you cut down on the time it takes to complete the project.
If you have additional questions or need more help as you get started on your project, feel free to leave a comment below, and I’ll do my best to answer you. From quilter to quilter, happy sewing!
–Kari